ASP.NET Core Identity Auth in .NET 8


ASP.NET Core Identity Auth now the default
A significant change from ServiceStack v8 is the adoption of the same ASP.NET Core Identity Authentication that's configured in Microsoft's default Projects templates in ServiceStack's new Project Templates.
History of ServiceStack Authentication
ServiceStack has always maintained its own Authentication and Authorization provider model, primarily as it was the only way to provide an integrated and unified Authentication model that worked across all our supported hosting platforms, inc. .NET Framework, ASP.NET Core on .NET Framework, HttpListener and .NET (fka .NET Core).
Whilst the Authentication story in ASP.NET has undergone several cycles of changes over the years, the ServiceStack Auth Model has remained relatively consistent and stable, with no schema changes required since release whilst still providing flexible options for extending UserAuth tables and typed User Sessions.
.NET Framework considered legacy
Although the multi-platform support of the unified Authentication model has been vital for Organizations migrating their systems to .NET (Core) where ServiceStack Customers have been able to enjoy Exceptional Code reuse, it's become clear that the .NET platform (e.g. .NET 8) is the only platform that should be considered for new projects and that .NET Framework should only be considered a stable legacy platform for running existing systems on.
Given Microsoft has committed to Authentication Improvements in .NET 8 it's become more important to easily integrate ServiceStack with new and existing .NET projects to access these new features than to continue recommending ServiceStack's unified Auth Providers as the default option for new projects.
ServiceStack will use Identity Auth in new projects
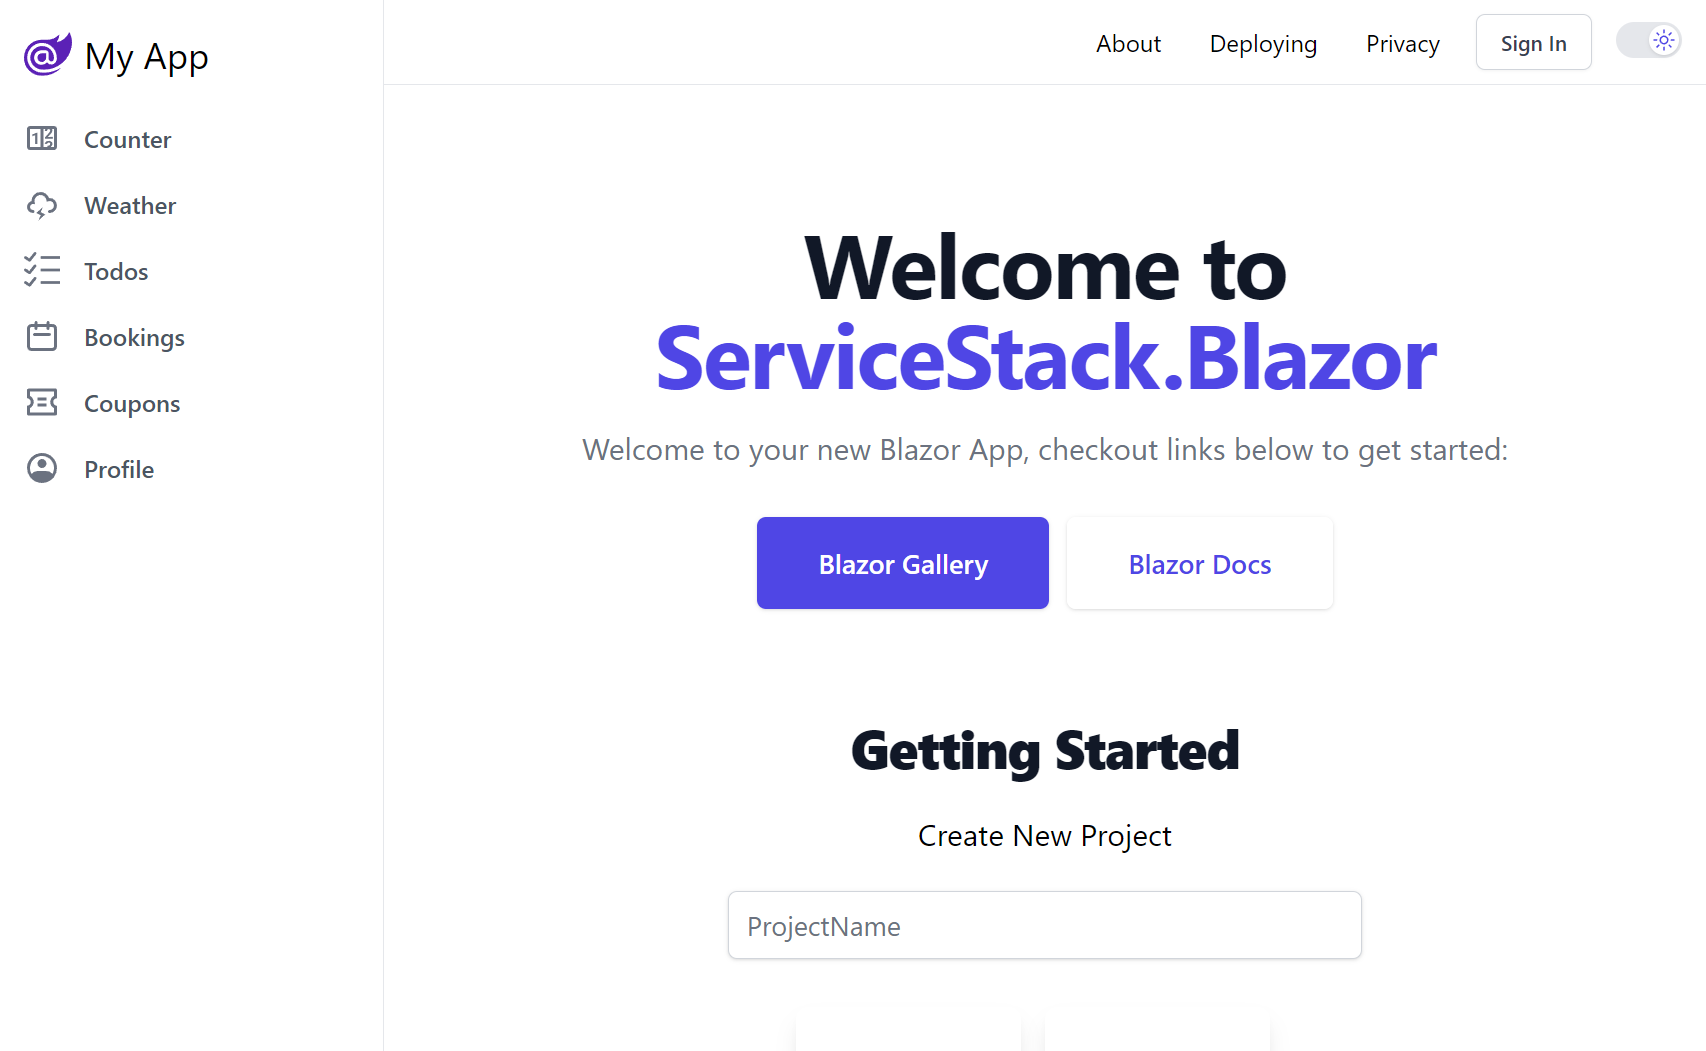
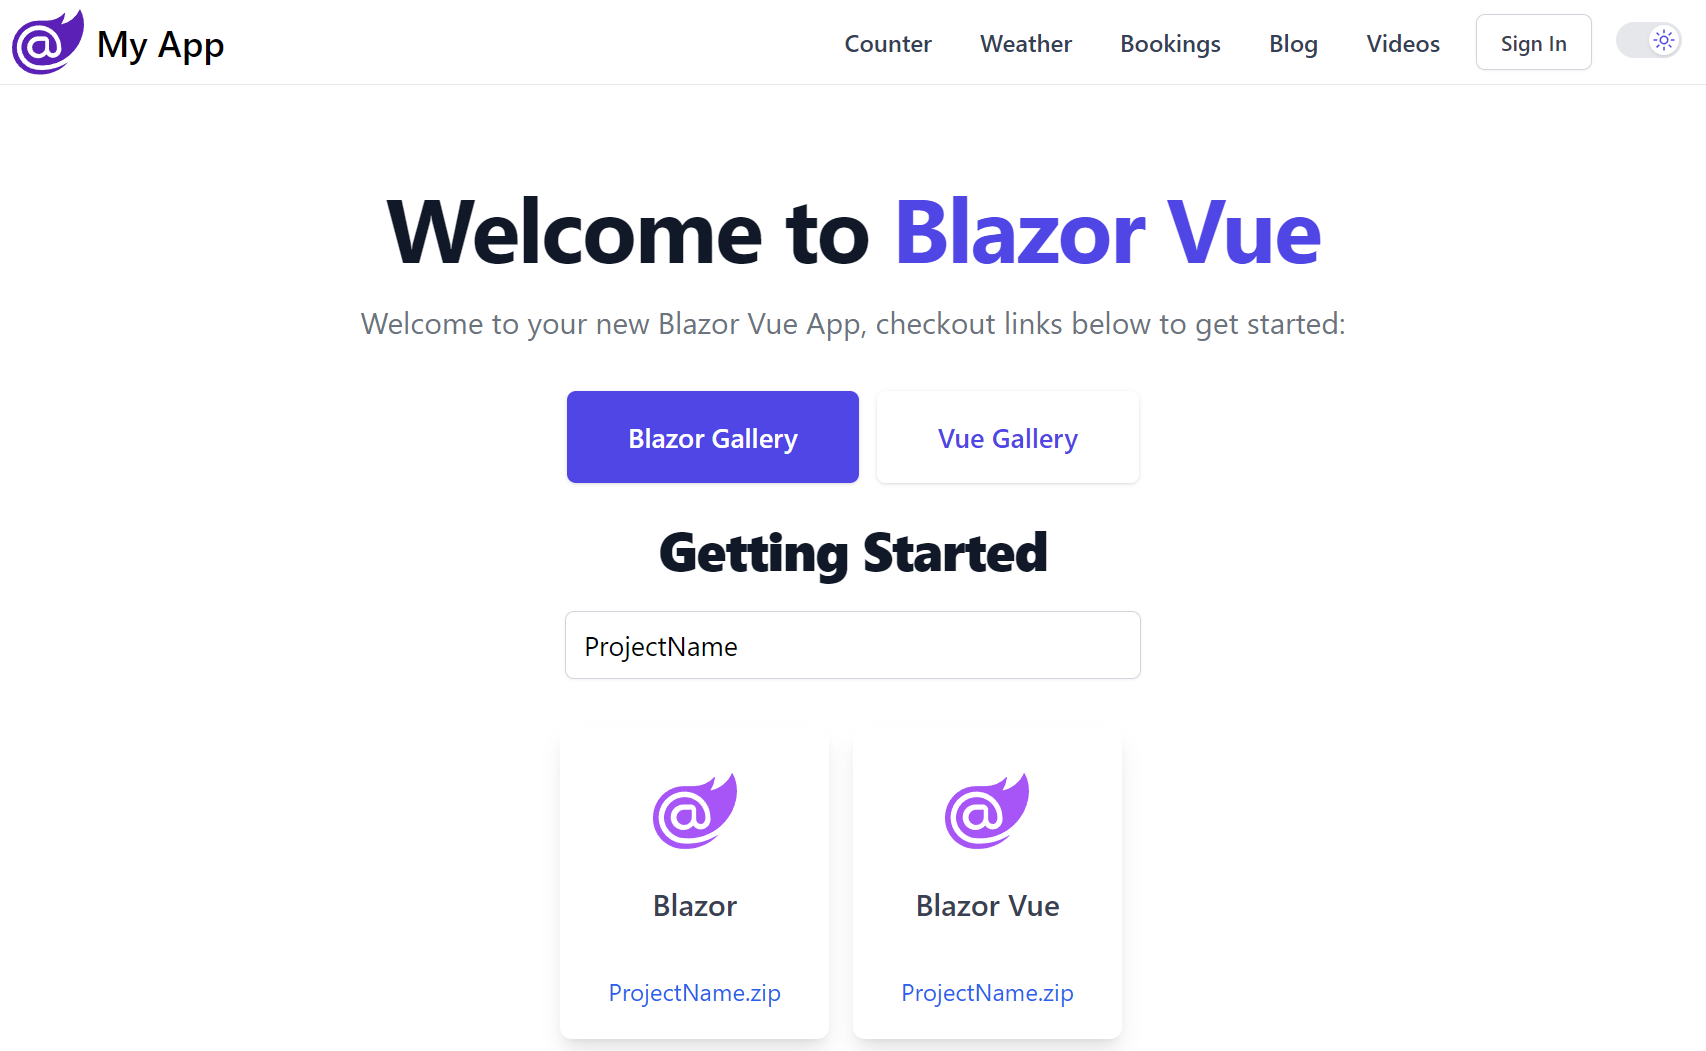
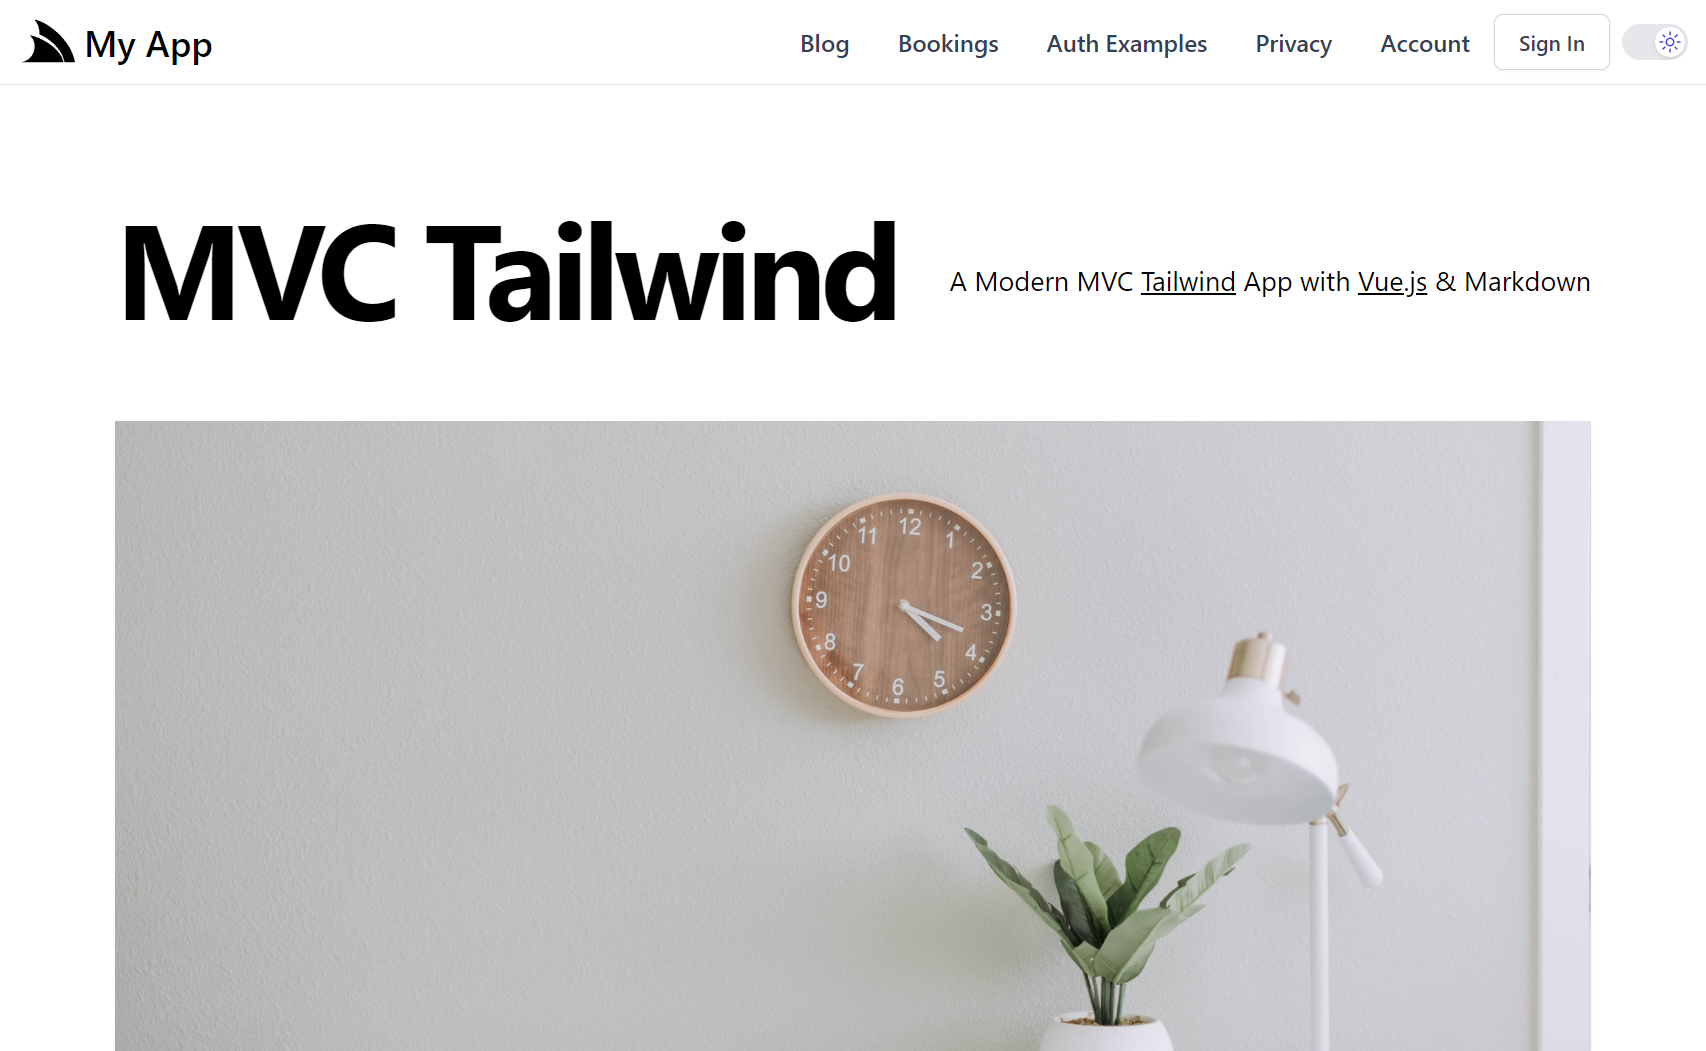
ASP.NET Core Identity Auth is the default Auth Model adopted in new ServiceStack projects which closely follows the same approach as the Microsoft Project Template it integrates ServiceStack with, e.g. the .NET 8 Blazor and Blazor Vue project templates adopts the exact same Auth configuration as Microsoft's default Blazor Project Template configured with Individual Identity Auth, likewise with the Bootstrap and Tailwind styled MVC and Razor Pages templates.
You can find ServiceStack Integrated Identity Auth Templates for each of ASP.NET Core's major Blazor, Razor Pages and MVC Project Templates:
Create a Project with ASP.NET Identity Auth
Identity Auth Template Live Demos
For a quick preview of what these look like, checkout out their Internet Hosted Live Demos:

The configuration and source code for the above projects are a good reference for how to configure ServiceStack with Identity Auth in your own projects:
The Bootstrap versions use same Individual Identity Auth Pages that Microsoft's Razor Pages and MVC templates use,
whilst the Tailwind versions have been enhanced to use Tailwind CSS instead of Bootstrap,
includes a visual QR Code implementation that was missing and includes an
IEmailSender SMTP solution that's easily enabled via Configuration to use your preferred SMTP Server.
Migrating to ASP.NET Core Identity Auth
Migrating from ServiceStack Auth to Identity Auth should be relatively straight-forward as ServiceStack uses a compatible Identity v2 password hashing format, which should let you migrate your users to Identity Auth without them noticing.
ServiceStack's Identity Auth Integration
ServiceStack's Identity Auth integration is focused on high compatibility so existing ServiceStack Customers require minimal effort to migrate existing code bases to use the new Identity Auth integration, despite Identity Auth being an entirely different Auth Provider model and implementation.
It does this by retaining a lot of the existing user-facing Authentication and Session abstractions that ServiceStack APIs use for Authorization as well as existing endpoints and Request/Response DTOs that ServiceStack Clients use to Authenticate, but replace their internal implementation to use ASP.NET Identity Auth instead.
The new Identity Auth integration is contained in the .NET 6+ ServiceStack.Extensions NuGet package:
<PackageReference Include="ServiceStack.Extensions" Version="8.*" />
Which at a minimum lets you configure ServiceStack to use Identity Auth by simply registering the existing AuthFeature
plugin with the Application's custom EF ApplicationUser Data Model:
Plugins.Add(new AuthFeature(IdentityAuth.For<ApplicationUser>()));
It requires minimal configuration as all Authorization is configured using ASP.NET Core's standard APIs, any configuration in this plugin is then just used to customize Identity Auth's integration with ServiceStack.
There's also no new concepts to learn as all ASP .NET Core endpoints, pages and controllers continue to Authenticate against
the populated ClaimsPrincipal whilst all ServiceStack APIs continue to Authenticate against the populated typed
User Session.
The AuthFeature works by registering the following Identity Auth Providers:
Identity Auth Providers
- IdentityApplicationAuthProvider - Converts an Identity Auth
ClaimsPrincipalinto a ServiceStack Session - IdentityCredentialsAuthProvider - Implements ServiceStack's
AuthenticateAPI using Identity Auth - IdentityJwtAuthProvider - Converts an Identity Auth JWT into an Authenticated ServiceStack Session
Only the IdentityApplicationAuthProvider is registered by default which is required to convert Identity Auth's ClaimPrincipal
into an Authenticated ServiceStack Session. The other Auth Providers are required if you want to enable authentication with
ServiceStack's endpoints. E.g. ServiceStack's Built-in UIs would require the Credentials Auth
to be enabled to authenticate via the built-in Sign In dialogs.
Configuring Auth Providers
Which is what all the Blazor and MVC Identity Auth templates enable by default in Configure.Auth.cs:
public class ConfigureAuth : IHostingStartup
{
    public void Configure(IWebHostBuilder builder) => builder
        .ConfigureAppHost(appHost =>
        {
            appHost.Plugins.Add(new AuthFeature(IdentityAuth.For<ApplicationUser>(
                // Configure ServiceStack's Integration with Identity Auth
                options => {
                    options.EnableCredentialsAuth = true;
                    options.SessionFactory = () => new CustomUserSession();
                })
            ));
        });
}
If you're using a CustomUserSession you'll also need to register it with the SessionFactory for it to be used.
Each of the Identity Auth Providers can also be customized individually:
Plugins.Add(new AuthFeature(IdentityAuth.For<ApplicationUser>(options => {
        // Configure IdentityApplicationAuthProvider
        options.AuthApplication...

        // Configure IdentityCredentialsAuthProvider
        options.EnableCredentialsAuth = true;
        options.AuthCredentials...

        // Configure IdentityJwtAuthProvider
        options.EnableJwtAuth = true;
        options.AuthJwt...
    })
));
Typically you'll want to use the included Identity UI Pages and dependencies to register new users and assign roles, but if you have any existing client integrations that use ServiceStack APIs they can also be enabled with:
Plugins.Add(new AuthFeature(IdentityAuth.For<ApplicationUser>(options => {
    // Include ServiceStack's Register API
    options.IncludeRegisterService = true;

    // Include ServiceStack's AssignRoles and UnAssignRoles APIs
    options.IncludeAssignRoleServices = true;
));
Extending Identity Auth Cookies and User Sessions
By default all well known Claim Names
are used to populate the User Session, but you can also include additional claims in the Identity Auth Cookie
and use them to populate the User Session by overriding PopulateFromClaims() in your
CustomUserSession.cs, e.g:
public class CustomUserSession : AuthUserSession
{
    public override void PopulateFromClaims(IRequest httpReq, ClaimsPrincipal principal)
    {
        // Populate Session with data from Identity Auth Claims
        ProfileUrl = principal.FindFirstValue(JwtClaimTypes.Picture);
    }
}

// Add additional claims to the Identity Auth Cookie
public class AdditionalUserClaimsPrincipalFactory(UserManager<ApplicationUser> userManager, RoleManager<IdentityRole> roleManager, IOptions<IdentityOptions> optionsAccessor)
    : UserClaimsPrincipalFactory<ApplicationUser,IdentityRole>(userManager, roleManager, optionsAccessor)
{
    public override async Task<ClaimsPrincipal> CreateAsync(ApplicationUser user)
    {
        var principal = await base.CreateAsync(user);
        var identity = (ClaimsIdentity)principal.Identity!;

        var claims = new List<Claim>();
        // Add additional claims here
        if (user.ProfileUrl != null)
        {
            claims.Add(new Claim(JwtClaimTypes.Picture, user.ProfileUrl));
        }

        identity.AddClaims(claims);
        return principal;
    }
}
Custom Application User Primary Key
The default IdentityUser uses a string as the primary key populated with a Guid, but you could also change it to use an
int by having your EF IdentityUser Data Model inherit from IdentityUser<int> instead:
public class AppUser : IdentityUser<int>
{
    //...
}
You'll also need to specify the Key Type when registering the AuthFeature plugin:
public class ConfigureAuth : IHostingStartup
{
    public void Configure(IWebHostBuilder builder) => builder
        .ConfigureAppHost(appHost => {
            appHost.Plugins.Add(new AuthFeature(IdentityAuth.For<AppUser,int>(
                options => {
                    options.EnableCredentialsAuth = true;
                    options.SessionFactory = () => new CustomUserSession();
                })
            ));
        });
}
Which the new .NET 8 BlazorDiffusion App does in Configure.Auth.cs
to be compatible with its existing ServiceStack UserAuth tables which used an int primary key.
Using Identity Auth in ServiceStack Apps
One of the primary benefits of adopting Identity Auth is the wealth of documentation and resources available for it, which also applies to how you would use Identity Auth to secure your own Apps.
If you're new to Identity Auth we recommend starting with the official introduction from Microsoft:
To learn about securing Blazor Apps, go to:
Declarative Validation Attributes
The recommended way to protect your ServiceStack APIs is to continue to use the Declarative Validation attributes which are decoupled from any implementation so be safely annotated on Request DTOs without adding any implementation dependencies, where they're also accessible to Clients and UIs using the Request DTOs to invoke your APIs.
The available Typed Authorization Attributes include:
| Attribute | Description |
|---|---|
[ValidateIsAuthenticated] |
Restrict access toAuthenticated Users only |
[ValidateIsAdmin] |
Restrict access to Admin Users only |
[ValidateHasRole] |
Restrict access to only Users assigned with this Role |
[ValidateHasClaim] |
Restrict access to only Users assigned with this Claim |
[ValidateHasScope] |
Restrict access to only Users assigned with this Scope |
That can be annotated on Request DTOs to protect APIs:
[ValidateIsAuthenticated]
[ValidateIsAdmin]
[ValidateHasRole(role)]
[ValidateHasClaim(type,value)]
[ValidateHasScope(scope)]
public class Secured {}
Migrating from ServiceStack Auth
Migrating from ServiceStack Auth to Identity Auth should be relatively straight-forward as ServiceStack uses a compatible Identity v2 password hashing format, which should let you migrate your users to Identity Auth without them noticing.
TIP
Please ensure your App database is backed up before running any migrations
1. Rename old AppUser table
You'll want to use a different name so it doesn't conflict with the new Identity Auth AppUser Data Model. This
would only be needed to query the User data to migrate to Identity Auth, you'll be able to remove it after
successfully migrating all your Users.
You don't need to include all the properties of the UserAuth base table, just the ones you want to migrate to Identity Auth,
which for Blazor Diffusion was only:
// Used by OrmLite to fetch User data to migrate from old ServiceStack `AppUser` table
[Alias("AppUser")]
public class OldAppUser
{
    [AutoIncrement]
    public int Id { get; set; }
    public string UserName { get; set; }
    public string DisplayName { get; set; }
    public string FirstName { get; set; }
    public string LastName { get; set; }
    public string? Handle { get; set; }
    public string Email { get; set; }
    public string PasswordHash { get; set; }
    public string? ProfileUrl { get; set; }
    public string? Avatar { get; set; } //overrides ProfileUrl
    public string? LastLoginIp { get; set; }
    public DateTime? LastLoginDate { get; set; }
    public string RefIdStr { get; set; }
    public DateTime? LockedDate { get; set; }
    public DateTime CreatedDate { get; set; }
    public DateTime ModifiedDate { get; set; }
}
2. Create Identity Auth Data Model
If you have a lot of existing references to the AppUser name you'll want to retain the same name so the existing references
wont need to be updated. Essentially your custom EF IdentityUser will want a copy of all the properties you want to migrate
other than Id, Email, and PasswordHash that's already defined in the base IdentityUser class:
[Alias("AspNetUsers")] // Tell OrmLite which table this EF Data Model maps to
public class AppUser : IdentityUser<int>
{
    public string? FirstName { get; set; }
    public string? LastName { get; set; }
    public string? DisplayName { get; set; }
    public string? ProfileUrl { get; set; }
    [Input(Type = "file"), UploadTo("avatars")]
    public string? Avatar { get; set; } //overrides ProfileUrl
    public string? Handle { get; set; }
    public int? RefId { get; set; }
    public string RefIdStr { get; set; } = Guid.NewGuid().ToString();
    public bool IsArchived { get; set; }
    public DateTime? ArchivedDate { get; set; }
    public string? LastLoginIp { get; set; }
    public DateTime? LastLoginDate { get; set; }
    public DateTime CreatedDate { get; set; } = DateTime.UtcNow;
    public DateTime ModifiedDate { get; set; } = DateTime.UtcNow;
}
The AppUser Data Model and int primary key would also need to be registered in your
Configure.Auth.cs
configuration class:
public class ConfigureAuth : IHostingStartup
{
    public void Configure(IWebHostBuilder builder) => builder
        .ConfigureAppHost(appHost => {
            appHost.Plugins.Add(new AuthFeature(IdentityAuth.For<AppUser,int>(
                options => {
                    options.EnableCredentialsAuth = true;
                    options.SessionFactory = () => new CustomUserSession();
                })
            ));
        });
}
3. Add Authentication Configuration
You'll need to configure Entity Framework and add your desired ASP.NET Identity Auth configuration to your App's Program.cs.
We'd recommend copying from a new Microsoft or ServiceStack .NET 8 Project which closely matches the Authentication options you want to enable, e.g. you can start with the recommended Authentication for a new Blazor Project from its Program.cs:
services.AddAuthentication(IdentityConstants.ApplicationScheme)
    .AddIdentityCookies();
services.AddDataProtection()
    .PersistKeysToFileSystem(new DirectoryInfo("App_Data"));

// $ dotnet ef migrations add CreateIdentitySchema
// $ dotnet ef database update
var connectionString = config.GetConnectionString("DefaultConnection") ?? throw new InvalidOperationException("Connection string 'DefaultConnection' not found.");
services.AddDbContext<ApplicationDbContext>(options =>
    options.UseSqlite(connectionString, b => b.MigrationsAssembly(nameof(MyApp))));
services.AddDatabaseDeveloperPageExceptionFilter();

services.AddIdentityCore<ApplicationUser>(options => options.SignIn.RequireConfirmedAccount = true)
    .AddRoles<IdentityRole>()
    .AddEntityFrameworkStores<ApplicationDbContext>()
    .AddSignInManager()
    .AddDefaultTokenProviders();

services.AddSingleton<IEmailSender, NoOpEmailSender>();
services.AddScoped<IUserClaimsPrincipalFactory<ApplicationUser>, AdditionalUserClaimsPrincipalFactory>();
Alternatively if you want to add support for external OAuth logins you can copy from the MVC Tailwind Authentication configuration in its Program.cs which will also require adding the NuGet dependencies of the OAuth providers you want to support which you can get from its MyApp.csproj
4. Create and Run EF Migrations
After your App is properly configured you'll want to create the EF Migrations for your the Identity Auth User tables by installing the dotnet-ef tool and running:
dotnet ef migrations add CreateIdentitySchema
Which should create the EF Migrations in the /Migrations folder, you can then run the migrations to create the
Identity Auth tables in your App's configured database:
dotnet ef database update
5. Implement the Migrate Users Task
This could be implemented in a separate Application or Unit Test although we've found the easiest way to migrate existing users is to implement a custom App Task as it's able to make use of your App's configured Authentication, EF and OrmLite dependencies that can then be run from the command-line.
The implementation should be fairly straight-forward, you'll basically just need to create a new Identity Auth User
using the UserManager<AppUser> dependency for each of your existing users:
public class ConfigureDbMigrations : IHostingStartup
{
    public void Configure(IWebHostBuilder builder) => builder
        .ConfigureAppHost(appHost => {
            AppTasks.Register("migrate.users", _ => {
                var log = appHost.GetApplicationServices().GetRequiredService<ILogger<ConfigureDbMigrations>>();

                log.LogInformation("Running migrate.users...");
                var scopeFactory = appHost.GetApplicationServices().GetRequiredService<IServiceScopeFactory>();
                using var scope = scopeFactory.CreateScope();
                using var dbContext = scope.ServiceProvider.GetRequiredService<ApplicationDbContext>();
                using var db = scope.ServiceProvider.GetRequiredService<IDbConnectionFactory>().Open();
                var migrateUsers = db.Select(db.From<OldAppUser>().OrderBy(x => x.Id));

                log.LogInformation("Migrating {Count} Existing ServiceStack Users to Identity Auth Users...", migrateUsers.Count);
                MigrateExistingUsers(dbContext, scope.ServiceProvider, migrateUsers).Wait();
            });
            AppTasks.Run();
        });

    private async Task MigrateExistingUsers(ApplicationDbContext dbContext, IServiceProvider services,
        List<OldAppUser> migrateUsers, string tempPassword="p@55wOrd")
    {
        var userManager = services.GetRequiredService<UserManager<AppUser>>();
        var now = DateTime.UtcNow;

        foreach (var user in migrateUsers)
        {
            var appUser = new AppUser
            {
                Id = user.Id,
                UserName = user.Email,
                Email = user.Email,
                DisplayName = user.DisplayName,
                FirstName = user.FirstName,
                LastName = user.LastName,
                Handle = user.Handle,
                ProfileUrl = user.ProfileUrl,
                Avatar = user.Avatar,
                RefIdStr = user.RefIdStr ?? Guid.NewGuid().ToString(),
                LockoutEnabled = true,
                LockoutEnd = user.LockedDate != null ? now.AddYears(10) : now,
                LastLoginDate = user.LastLoginDate,
                LastLoginIp = user.LastLoginIp,
                CreatedDate = user.CreatedDate,
                ModifiedDate = user.ModifiedDate,
                // Verify you want existing Users emails to be confirmed
                EmailConfirmed = true,
            };
            await userManager.CreateAsync(appUser, tempPassword);

            // Update raw Password Hash using EF
            if (user.PasswordHash != null)
            {
                dbContext.Users
                    .Where(x => x.Id == user.Id)
                    .ExecuteUpdate(setters => setters.SetProperty(x => x.PasswordHash, user.PasswordHash));
            }
        }
    }
}
As there's no official API for updating the raw PasswordHash you'll need to use EF's ExecuteUpdate() API to update it
on the AspNetUsers table directly.
It should be noted that ServiceStack Auth still uses ASP.NET Core's previous Identity v2 format for hashing its passwords, this will be automatically re-hashed using the latest ASP.NET Identity v3 format after users successfully sign in.
Optimizing the PasswordHash Update
Whilst migrating users should be a once-off task, if you have a lot of users you may want to optimize the PasswordHash update
from a N+1 query per user to a single query that updates all users in a single command.
You'll need to use the UPDATE FROM syntax that's supported by your RDBMS's, here's an example of how to do it in SQLite:
UPDATE AspNetUsers
SET PasswordHash = u.PasswordHash
FROM (SELECT Email, PasswordHash FROM AppUser WHERE PasswordHash is NOT NULL) AS u
WHERE u.Email = AspNetUsers.Email;
Migrating Roles
Migrating Roles will depend how their stored in your App, you'll first need to ensure each role is created in the AspNetRoles
table with:
string[] allRoles = [...]; // All Roles in your App
var roleManager = services.GetRequiredService<RoleManager<IdentityRole>>();
foreach (var roleName in allRoles)
{
    var roleExist = await roleManager.RoleExistsAsync(roleName);
    if (!roleExist)
    {
        await roleManager.CreateAsync(new IdentityRole(roleName));
    }
}
You can then assign Roles to Users using the UserManager<AppUser>, e.g:
string[] roles = [...]; // Roles to assign to User
var newUser = await userManager.FindByEmailAsync(user.Email!);
await userManager.AddToRolesAsync(user, roles);
6. Run the migrate.users Task
With everything in place, all that's left is to run the migrate.users App Task from the command-line:
dotnet run --AppTasks=migrate.users
7. Verify Users can Sign In
After successfully migrating all your users you should check the new IdentityUser table to verify all the User data
you want has been migrated as well as verifying they can sign in with their existing credentials.
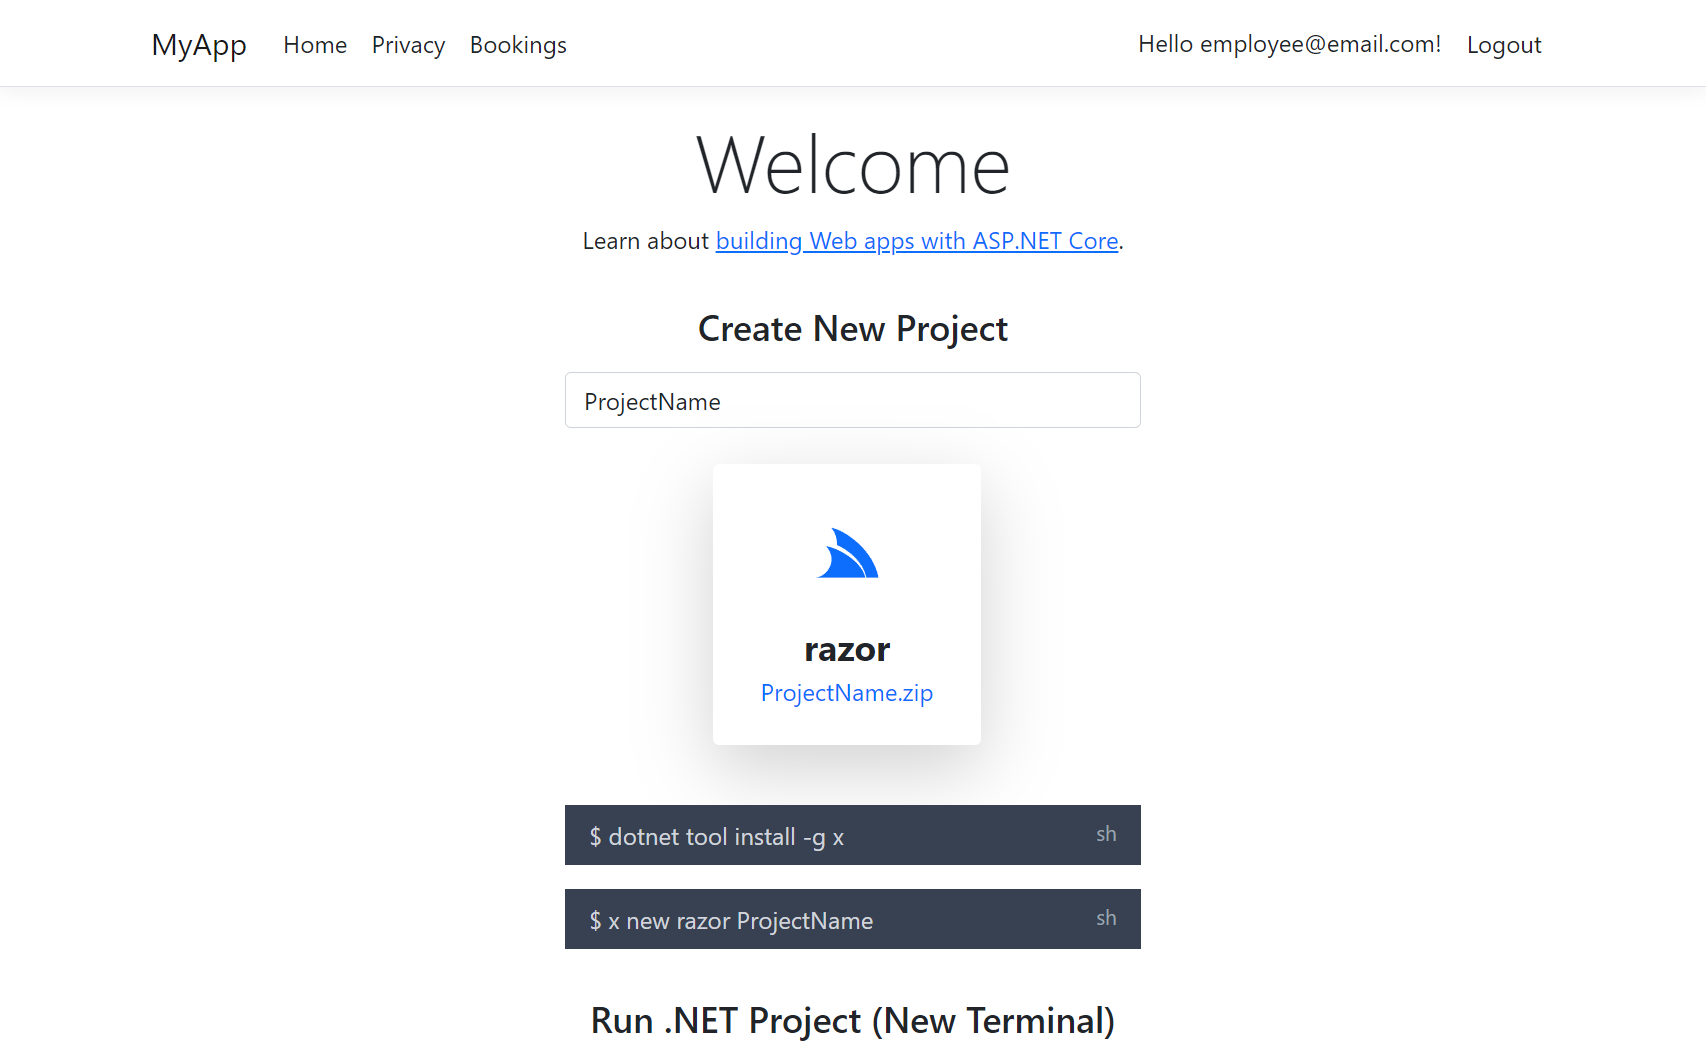
Create a new ASP.NET Identity Auth Project to copy from
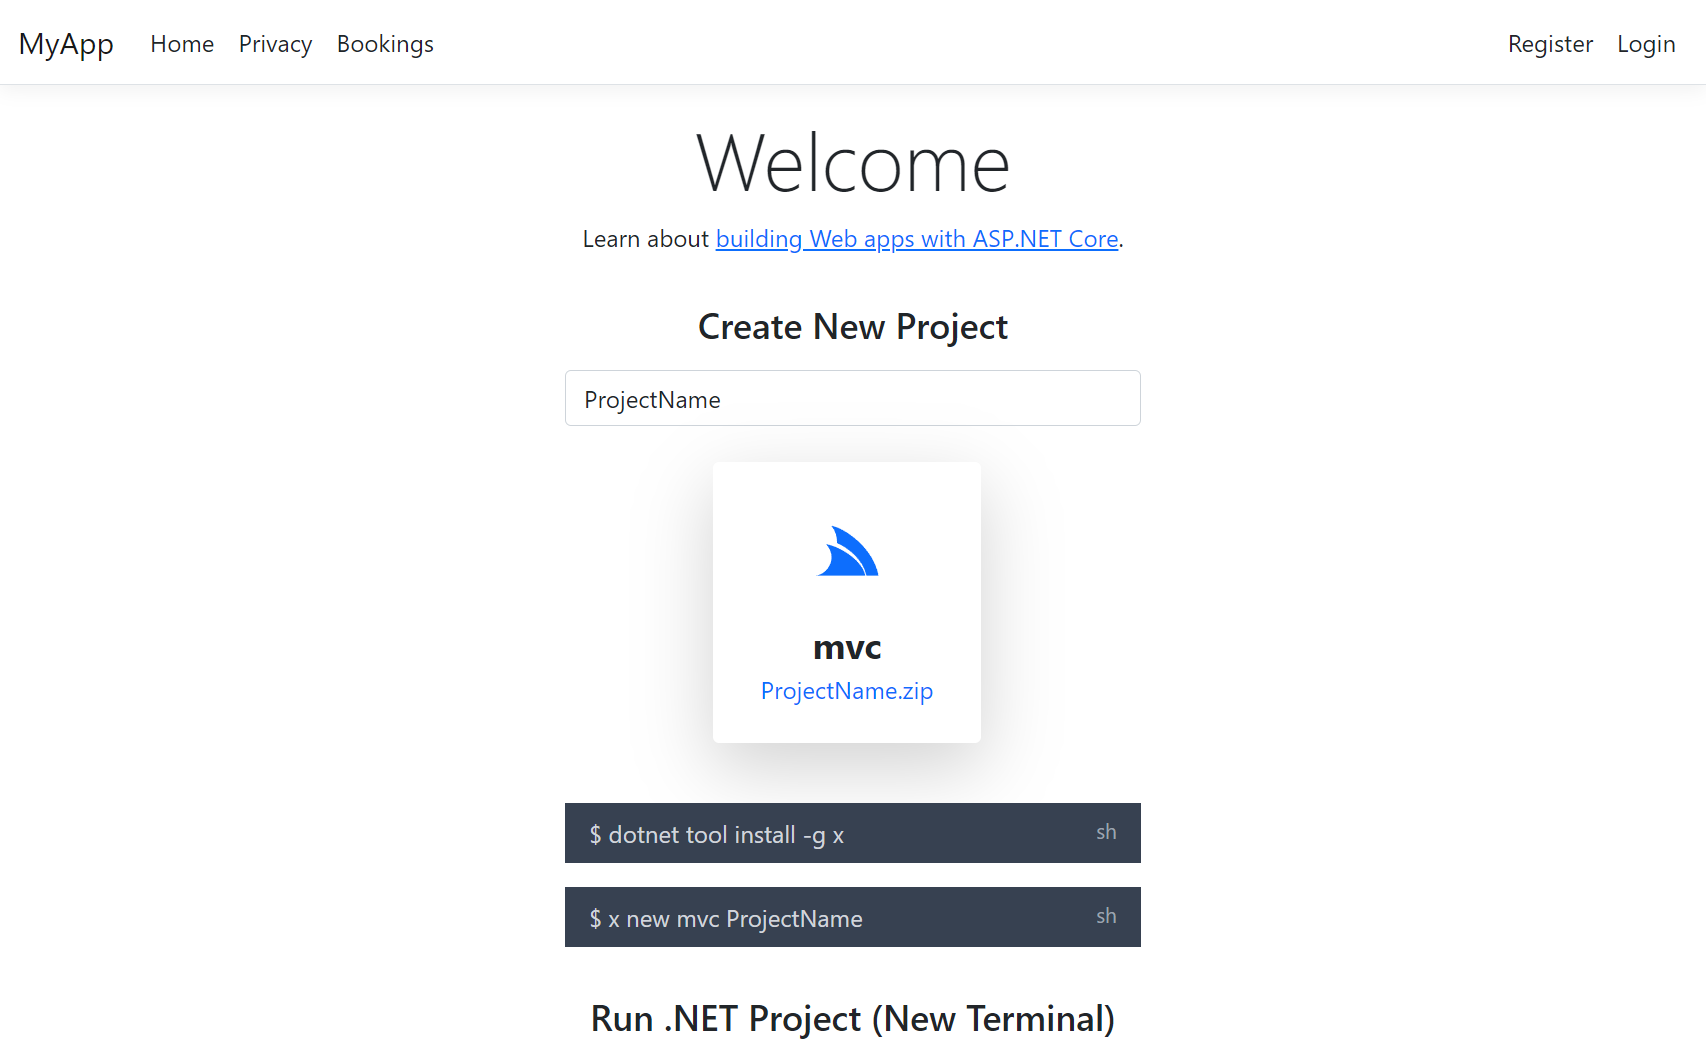
The easiest way to include the Identity Auth UI Pages to your App is to copy your Application into a new .NET 8 Project that already includes them, you can create a new Blazor App with:
x new blazor ProjectName
Or create a new Razor Pages Tailwind or Bootstrap App:
x new razor ProjectName
x new razor-bootstrap ProjectName
Or new MVC Tailwind or Bootstrap App with:
x new mvc ProjectName
x new mvc-bootstrap ProjectName
Alternatively you can manually copy the pages from the project template repositories, for Blazor most of the Identity Auth UI Pages are in the Components/Identity and Pages/Account folders.
For MVC, most of the Identity UI are in the Account and Manage controllers as well as their Views/Account and Views/Manage folders.
SMTP IEmailSender
The .NET 8 Templates also include a nice solution for sending Identity Auth emails through the IEmailSender interface
which drops the Email Request in the registered Background MQ in
Configure.Mq.cs
which uses it to invoke the SendEmail API in
EmailServices in a
managed background worker:
public class EmailSender(IMessageService messageService) : IEmailSender
{
    public Task SendEmailAsync(string email, string subject, string htmlMessage)
    {
        using var mqClient = messageService.CreateMessageProducer();
        mqClient.Publish(new SendEmail
        {
            To = email,
            Subject = subject,
            BodyHtml = htmlMessage,
        });

        return Task.CompletedTask;
    }
}
To enable it you'll need to register your preferred SMTP Server in your App's appsettings.json:
{
  "SmtpConfig": {
    "Username": "username",
    "Password": "password",
    "Host": "smtp.mailtrap.io",
    "Port": 587,
    "FromEmail": "mail@example.org"
  }
}
Then uncomment the EmailSender registration in your Program.cs
services.AddSingleton<IEmailSender, EmailSender>();
Send any App Email
The nice part about this solution is that it's not limited to just sending Identity Auth emails, you can also use it to send
any App Email, either by publishing a message to the registered MQ with PublishMessage or by using the
Service Gateway to invoke the API directly, e.g:
public class MyServices : Service
{
    public object Any(MyRequest request)
    {
        // Send Email in managed Background MQ Worker
        PublishMessage(new SendEmail {
            To = email,
            Subject = subject,
            BodyHtml = body,
        });

        // Block until Email is sent to SMTP Server
        Gateway.Send(new SendEmail {
            To = email,
            Subject = subject,
            BodyHtml = body,
        });
    }
}


